How to Download and Install 7 Zip on Windows

This is a quick guide on how to download and install 7-Zip on Windows.
You’ll love the clear step-by-step approach in this tutorial.
Ready?
What is 7-Zip?
7-Zip is a utility that you can use to read or write several archive formats. The program contains a command-line and a graphical user interface.
7-Zip is created and maintained by Igor Pavlov.
Step #1: Download
Head over to the 7-Zip home page.
At the top of the page, you can find the installers for Windows.
Check your windows bit version and click on the corresponding link.
In this guide, we will download the 64-bit x64 version.
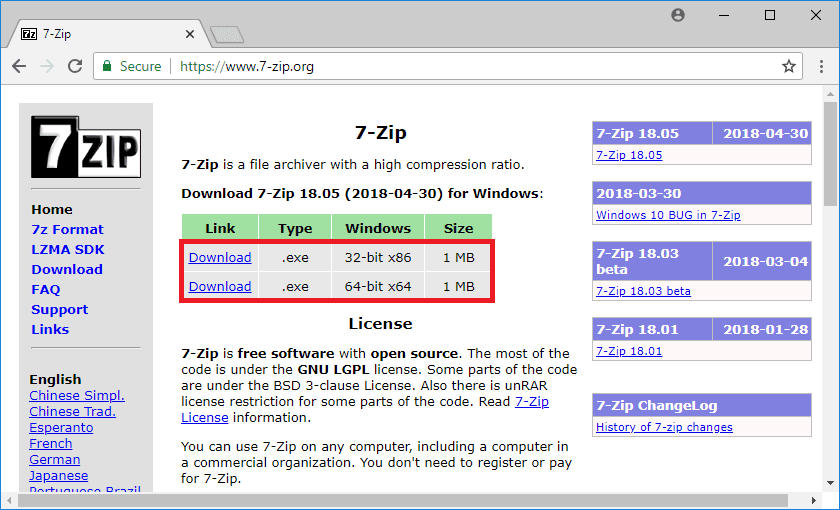
Wait for the download to complete.
Step #2: Install
Open the location of the downloaded executable.
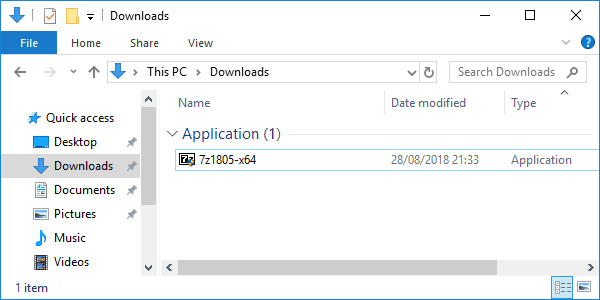
Double-click it to run the installer.
On Windows 10 a pop-up window will appear: The app you're trying to install isn't a verified app from the Store
Click on Install anyway.
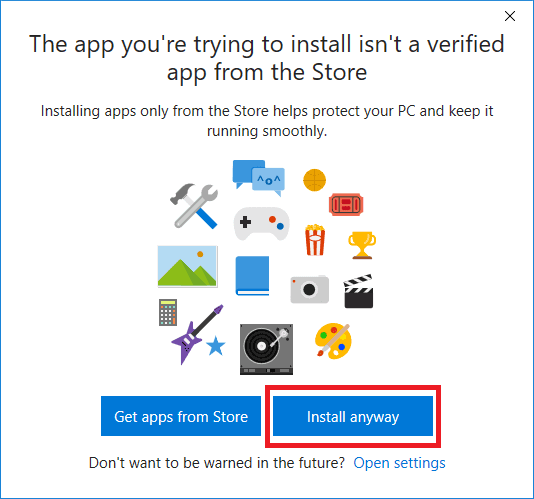
The installer will open.
You can change the installation location by clicking on the … button.
In this example, we keep the default install location of C:\Program Files\7-Zip\.
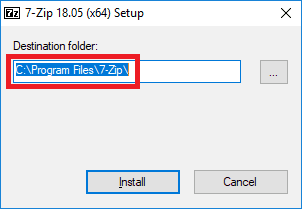
Click Install to start the installation.
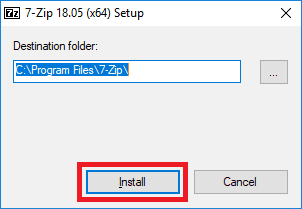
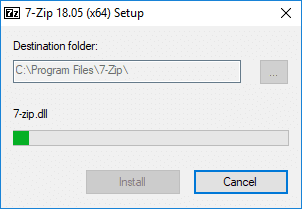
The 7-Zip installation will now start.
A progress bar shows the various steps that are executed.
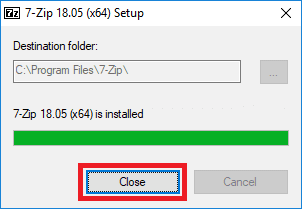
Once the installation is complete, click Close.
Step #3: Usage
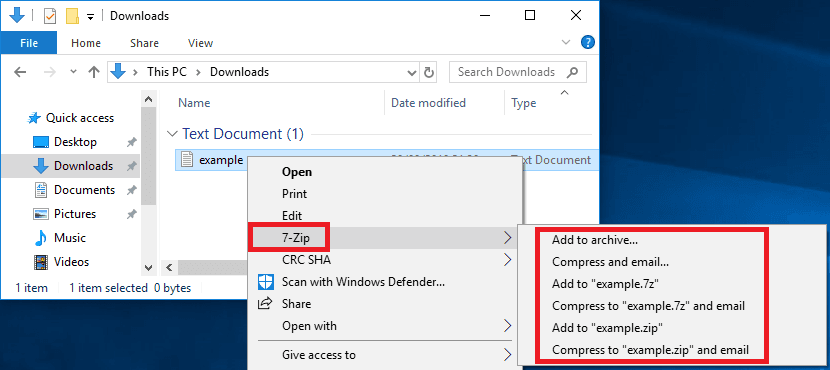
You can now use 7-Zip to compress or decompress files.
Right-click a file and 7-Zip is available as an item in the context menu. Depending on the type of file different actions are available.
Congratulations, you have installed 7-Zip on Windows 10!
Drop a line below if you have any question.
Or if you want to say thanks.
Leave a comment